
 |
| Go from this... |
 |
| ...To this! |
When I was first attempting to sell my leather goods I tried a lot of different cheap routes for getting good photos of my gear and nothing worked very well. At first I tried using a good quality canon point-and-shoot camera and household 5000K cool white fluorescent bulbs in $7 utility lamps from Home Depot. My photos either looked washed out or had very harsh shadows no matter how I positioned my lights. Positioning the lights was a nightmare too because I had to build an apparatus that was bulky and got in the shot if I wasn't close enough to the item. Then when I was close enough the items were warped because I was too close.
I turned to youtube and wasted hours and hours watching people make wacky light filters and use cheap desk lamps to get the same results I was getting. And then I went to all the eCommerce sites I had ever sold on: ebay, half.com, amazon.com, etsy and a few others and all their tips were the same. They told you to clean your items, put them in natural light and hold still while you take the photo. That was good info, because all those are important and there really isn't a perfect substitute for natural light but its hard to control natural light or schedule your day around the 20 minutes that the light shines through your window at just the right angle.
So here is a list of some sure fire tips that will get you on the right path. Remember that this will take some trial and error but I am confident that if you follow these things you will do just fine.
1. Gauge your needs.
By this I mean that if you are trying to sell one item on ebay it may be good enough to wait for those 20 minutes of perfect light to come through the window. Its important to know how often you will be taking product photos before you set a budget or dedicate tons of time to learning this art form. If you need only a few good shots for a single project your most cost/time effective route may be to take your items to a real photo studio, if they charge $25 for photos and it only takes 30 minutes of your time thats a good deal.
If your going to be taking tons of photos it is well worth it to figure it out.
2.Use the best camera you can get a hold of.
I'm not telling you to go out and spend $2500 on a new Professional DSLR but I am saying that the better the camera the better your chances are of getting good results. I bought studio lights before I bought a DSLR because I had a family member who was willing to let me borrow his camera. If you can't borrow one there are rental services available in most larger cities.
I use the Canon T5i and it does an amazing job for its $750 price tag. It took a while to save up, but I am 100% sure it has paid for itself in the quality of the photos I take with it directly affecting my sales.
Whatever camera you use, make a point to familiarize yourself with it and be able to control the 'white balance' so that you get accurate color representation.
3. Real Studio lights make a world of difference.
If your still reading this your probably not an expert photographer and I want you to know that you don't have to be one to get good photos nor do you need thousands of dollars of complicated equipment.
 |
| This is the Cowboy Studio set I purchased, all set up and ready to go. Notice the film over the light is what softens the shadows. |
Unlike strobes and flashes, Soft Box lamps offer constant soft light as they shine through a thin film which takes the sharp edge off of shadows. This allows you to manipulate and adjust your subject in the exact lighting that the camera will be exposed to. This is also a very good setup for video interviews because of the constant soft light.
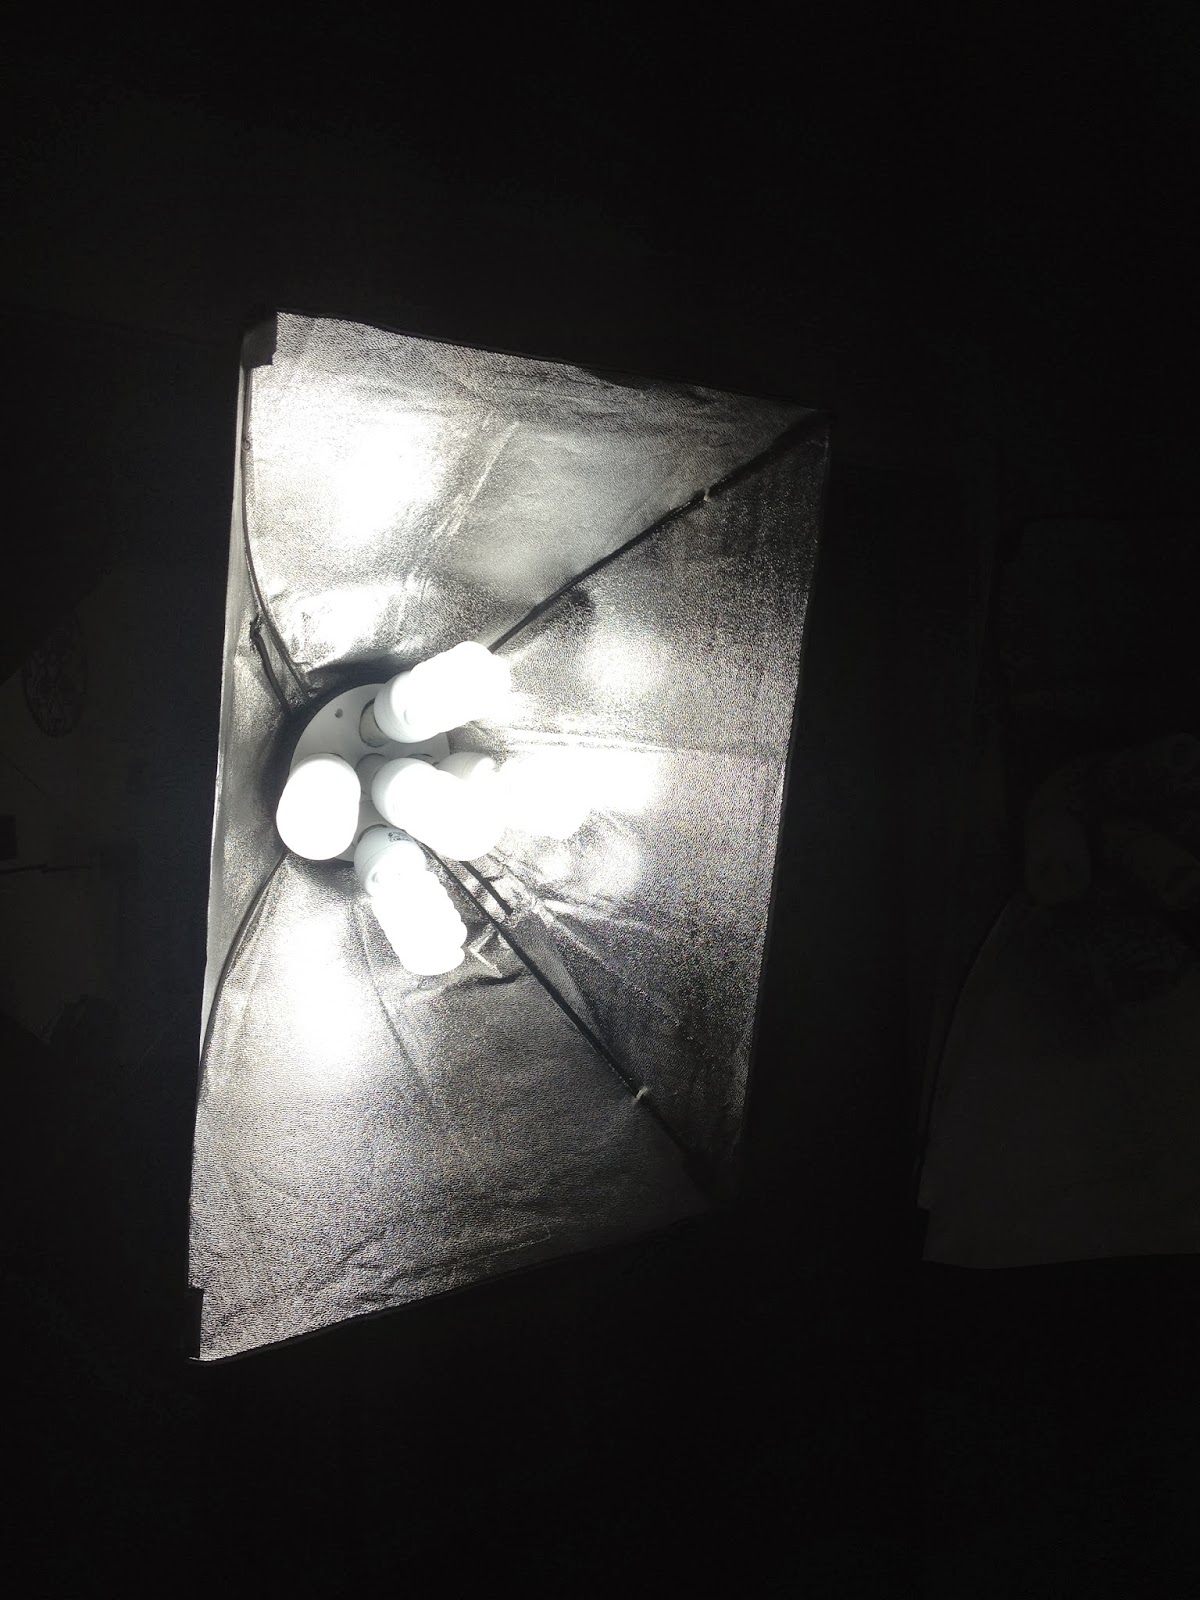 |
| This is one of the Soft Boxes without the filter on the front. Take note that those bulbs are much larger than a household bulb each one is about 8 inches long. |
You will want to shoot your subject from as far away as you can while still getting a sharp image. The reason is that the closer you are to the image the more distorted the shape will be due to the curve of your lens. Also shoot from many different angles and view the images full size to see what angles work best. Once you find what works try to be consistent from product to product.
 |
| The 3 light setup is very valuable here because it allows you to control shadows and highlight features as you wish. |
 |
| This is the raw photo taken from the setup above, on my first day with the new lights. |
6. Spend some time correcting the photo before you post it.
The raw photo above looks Ok but with 3 minutes in Photoshop you can correct the colors to make it appear more accurate than you shot it, and clean up the background for that polished look. This is a very easy process if you shoot your photos in front of a white background. Before I made any money I used www.pixlr.com since its a free alternative to Adobe's Photoshop, now I'm a subscriber to Adobe Creative Cloud and I love it. This step is explained countless times on Youtube so I wont get into it here but know that it makes a difference in how professional your offerings look.
 |
| You can see by comparison how much more polished this looks when I clean up the background only. |
I hope this has been helpful, it should be enough to get you thinking and introduce you to the process. It is enjoyable once you start to get it!
No comments:
Post a Comment